CASE STUDY: AUTOMOTIVE
CASE STUDY: EDUCATION
Formula Student – Somos® PerFORM Tooling and Composite Layup
Case study of use of Stratasys NEO – Written by Maria Rubia, OBR19

Design of the Molds
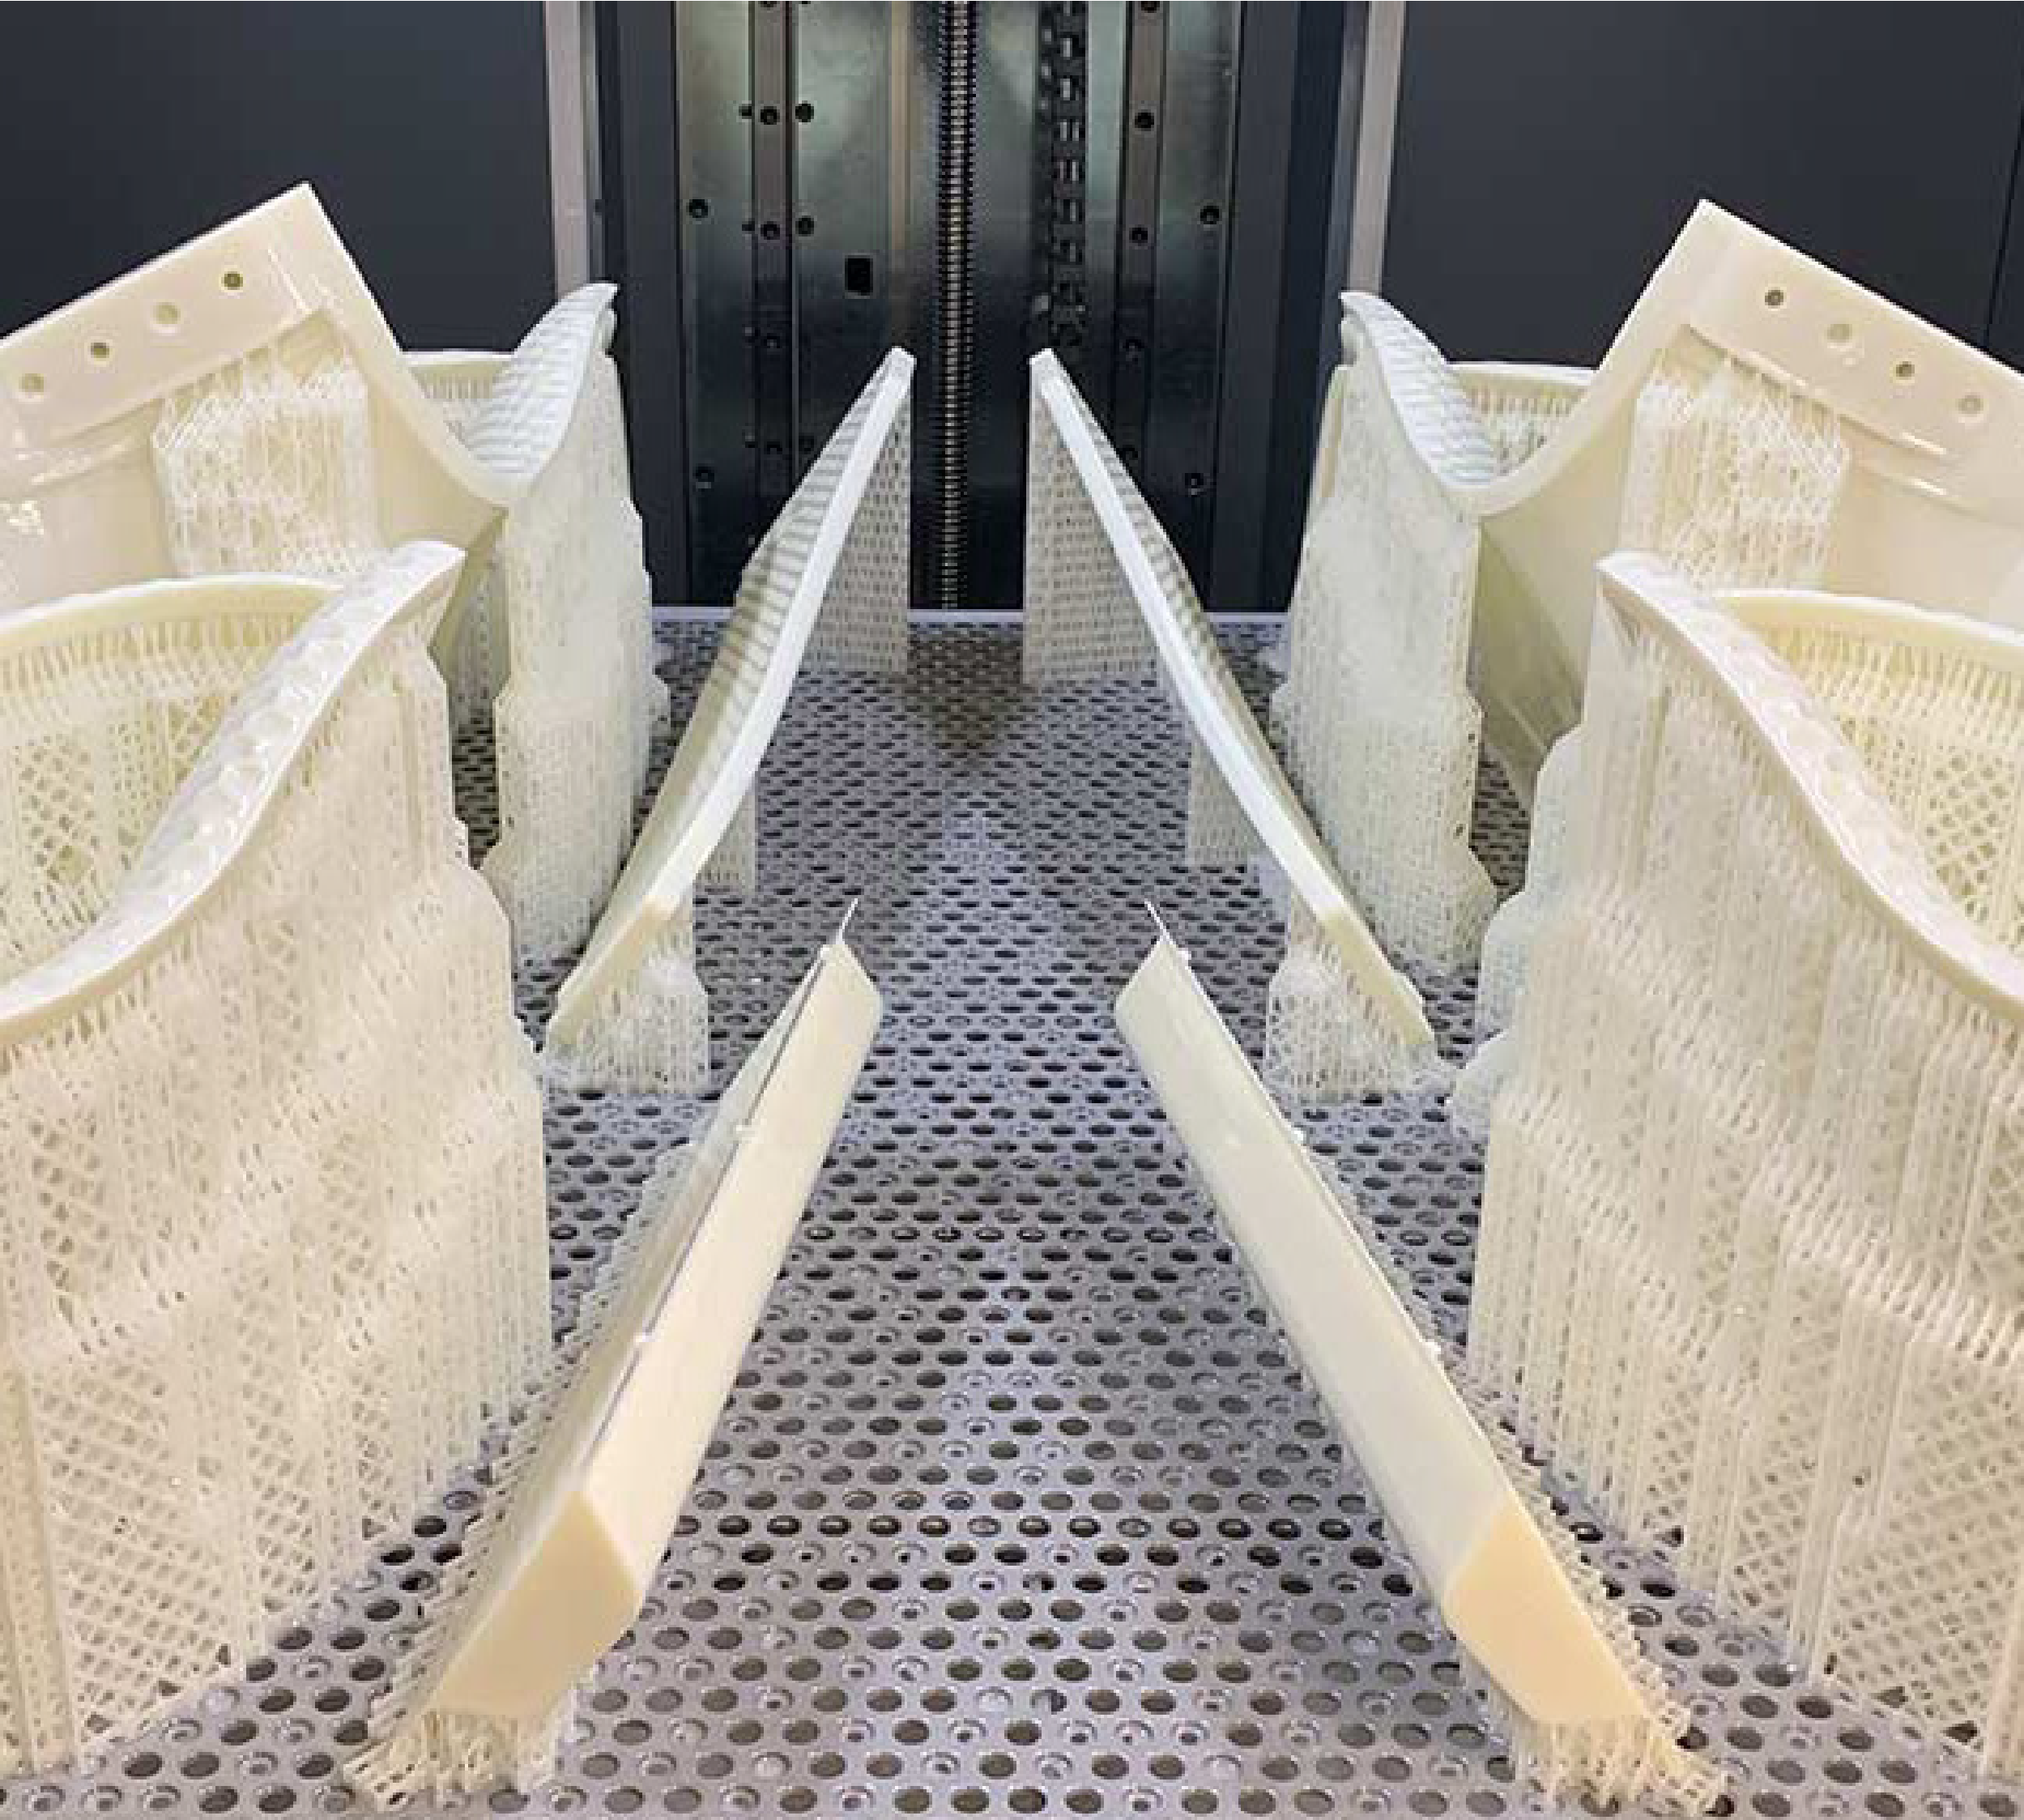
After defining the design of the components, the team moved to the design of the molds and Rohacell cores. The final parts have been manufactured using woven and unidirectional carbon fibre, with a thickness of 0.009 in. (0.23mm) and 0.005 in. (0.14mm) respectively. These two values have been crucial when defining the laminate of the parts as well as the offsets made to the cores. While the molds were designed with no offset relative to the final parts, The Rohacell cores were defined factoring in the agreed ply sequence. All molds were designed and divided to maximise ease of demolding, while also considering critical zones of each part such as trailing and leading edges. To ensure the final component is fully enclosed, the molds are the bolted together by means of holes going through both halves. The location of these holes was intentionally chosen, to distribute the pressure needed to close the molds uniformly once they are bolted together.
Manufacturing Process of the Parts
The following paragraphs explain the process followed to manufacture the final parts of the OBR 19 aero package, step by step.
Preperation of the Molds
The first step consists in covering the surfaces to lay up with a non-porous PTFE coating, which the first step consists in covering the surfaces to lay up with a non-porous PTFE coating, which provides release from the resin of the carbon fibre. This tape was positioned strategically with no overlaps and ensuring it is as continuous as possible, avoiding any air bubbles. In addition to the tape, a release agent is applied shortly before starting the laminate process of the part. The use of this agent made all edges of the mold to be covered and protected.
Carbon Fibre LayUp
The method used for the manufacturing of the parts is akin to that applied in high-performance industries and top-level motorsport such as Formula One. This technique consisted in wrapping the Rohacell cores in continuous carbon fibre plies, using the mold edges and scribe lines as reference to fold the plies in correct place. This second stage consists of cutting the plies with the necessary offsets to fold them back once the Rohacell core is placed. Once the fibres are cut, the team starts with the layup of the suction mold, leaving the plies overhanging at the edge, minimizing difficulty when folding them to the final shape. Release film is placed between the overhanging piles to ensure they do not stick together.
Debulk of Molds
Ensuring the located piles take the correct shape of the mold and do not shift is the main objective of the third step. For 15-20 minutes, the suction mold together with the carbon fibre plies is vacuumed without adding any external atmospheric pressure and at room temperature.
Rohacell Core Preparation and Location
For the first time, OBR made use of Rohacell foam core for its 2019 racecar. This material is known for having excellent dynamic strength, high stiffness and being lightweight. When working with this kind of material, the presence of moisture must be avoided as much as feasibly possibly. Drying the machined piece of foam in the oven is most common way to reduce the moisture absorbed by this core. The thickness of this material determines the temperature and time the foam needs to be drying (4 hours at 248 °F (120°C) in all our cases). Once the core is completely dry, it can then be covered by glue film ply before being positioned in the mold. This ply of glue film must wrap the foam entirely while ensuring no overlaps, making sure the film follows the shape of the foam.
To finish with the core stage, the Rohacell part is positioned in the suction mold, ensuring the core is covering all necessary areas and edges to manufacture the final part accurately. In the event that the core does not completely fill all the space within the mold, some “bootlaces” can be made unidirectional fibre and placed in the void space.
Carbon Fibre Play Wrap
Once having the core ready in the correct position, we can proceed to fold over the long plies. Folding them one by one and starting from the short edges, the objective is to leave the smallest overlap possible when wrapping the full core to avoid possible deviation in the thickness of the final part. These overlaps are staggered to ensure no structural weak point is created. Precision in this stage is vital, as creating excess material or thickness can lead to the molds not being able to close completely, and as such a
non-accurate part being created without a good surface finish.
Close Molds
The following step consists of closing the molds by means of M4 nuts, bolts and washers. When closing the molds, there must be a focus on sealing them fully while applying a uniform pressure across the mold face. All the mold splits are covered by release tape to avoid any possible resin flow leakage through them. In addition to this, and focusing on the curing part, all screw ends are covered with vacuum bagging gum sealant tape to prevent any damage to the vacuum bag.
Curing the Part
Before putting the part to cure in the oven, the molds are wrapped in non-perforated release film, which acts as a non-stick barrier between the laminate and the breather fabric. The mentioned breather cloth is the last layer to put around the molds before going within the vacuum bag. This fabric ensures a complete evacuation of the air from within the vacuum bag. Moving to the cure cycle, in this case the supplier recommended to cure this part for an hour at 248°F (120°C) without additional atmospheric pressure, adding the extra time it takes to achieve this mentioned temperature and similarly the rampdown time for cooling down the part.
Final Part
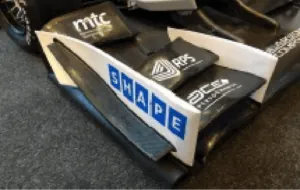
The final part is obtained after opening the molds by removing the breather cloth, release film and release tape previously used. In the case of OBR19, a total of 24 parts have been made using this process, located in both the front wing and side wings of the OBR19 car
Neo Stereolithography has a broad use in automotive industry for prototyping, tests and parts production. To find out more talk to our experts.


